
Plan lighting at the workstation, not from a product photograph. A ceiling or room light covers the space; a task light can be positioned for a particular working area. Compare how each option reaches the positions you use, what it does to shadows and glare, and whether its support fits the room and furniture.
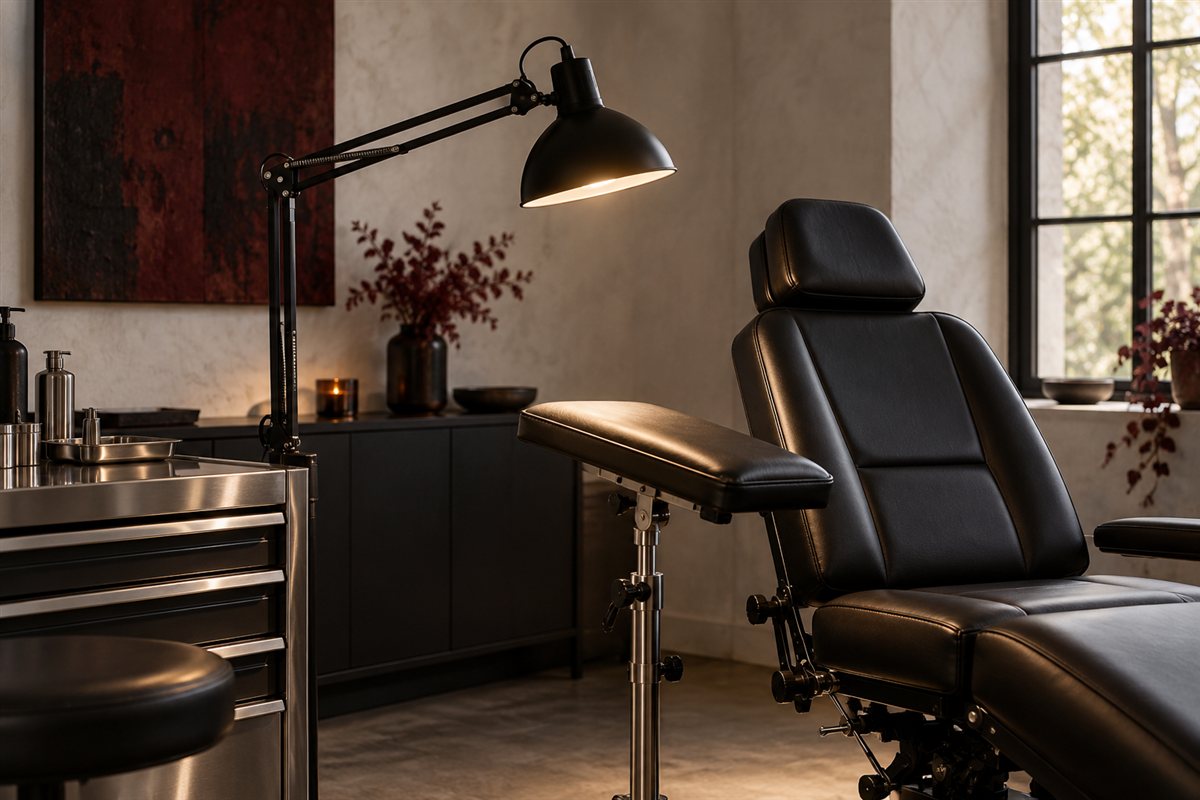
Work out where the light needs to go
Sketch the chair or bed, the artist's usual seat, the light base or clamp and the work area. Include the lamp's full movement range, switches and cable route. A task light that reaches one position may need to be moved for another; note that before choosing a fixed mount or a movable arm.
Compare specifications with their context
Ask the maker for brightness measured at a stated distance, colour-rendering information, colour temperature, dimming options, reach, mounting limits, cable length and cleaning instructions. Compare like with like and leave a field blank when the maker has not published it.
The Daylight Magnificent Pro product page is one example of a manufacturer publishing illuminance at a specified distance. That helps explain why a brightness number without its measurement distance is hard to compare; its figures describe that lamp, not a tattoo-studio target.
Try the layout before you buy
Position a temporary lamp at the planned height and reach. Check the light from the artist's normal working view at each intended client position. Note shadows from the artist's hands, glare, obstructed movement and whether controls can be reached without interrupting work. Then ask the supplier about any clamp, stand or mounting question the room sketch leaves open.
Check the exact model's care instructions against your procedures. Leeds' guidance gives one local example of expectations for cleanable furniture and fittings; ask your council what applies to your studio. Add the chosen light and its cable route to the equipment list.
Sources & further reading
Sources checked .